Sommaire
- 1 Introduction
- 2 Video d'introduction
- 3 Étape 1 - Mounting Pulley Wheel on Motor Shaft
- 4 Étape 2 - Glue Popsicle Stick for Pulley Holder
- 5 Étape 3 - Plastic Pulley Wheel Holder Assembly
- 6 Étape 4 - Drill a Hole on Slingshot
- 7 Étape 5 - Mount Plastic Pulley on Slingshot
- 8 Étape 6 - Motor Base
- 9 Étape 7 - Motor Assembly
- 10 Étape 8 - Pulley Holder Mount
- 11 Étape 9 - Thread Tension Control
- 12 Étape 10 - Attach Tension Control Onto Yarn
- 13 Étape 11 - Attach the Cable
- 14 Étape 12 - Soldering System
- 15 Étape 13 - Motor Soldering
- 16 Étape 14 - Battery Attachment
- 17 Étape 15 - Cable Car Cabin Assembly
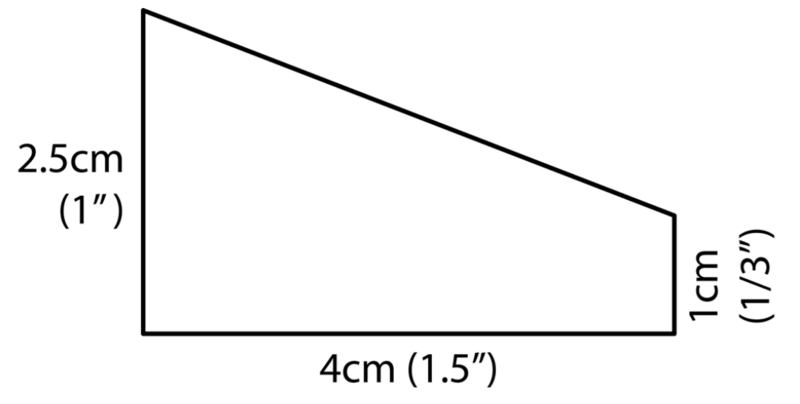
- 18 Étape 16 - Cut Cabin Hanger 30º Angled
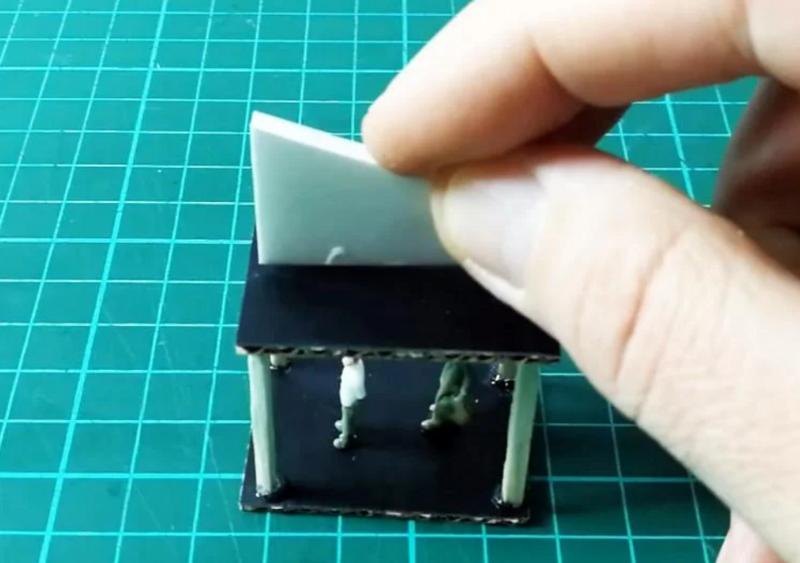
- 19 Étape 17 - Glue Hanger
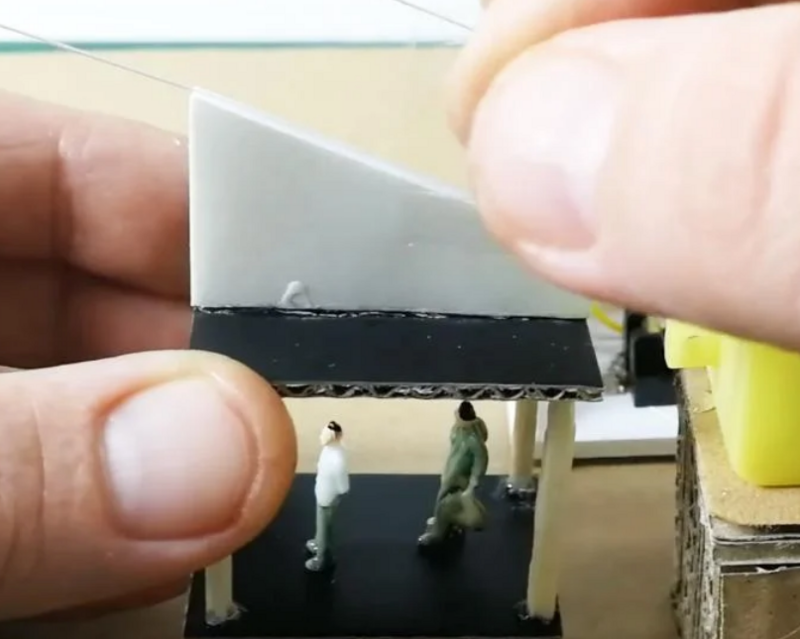
- 20 Étape 18 - Attach the cabinet to the rope
- 21 Étape 19 - Play it
- 22 Commentaires
Introduction
Youtube
Matériaux
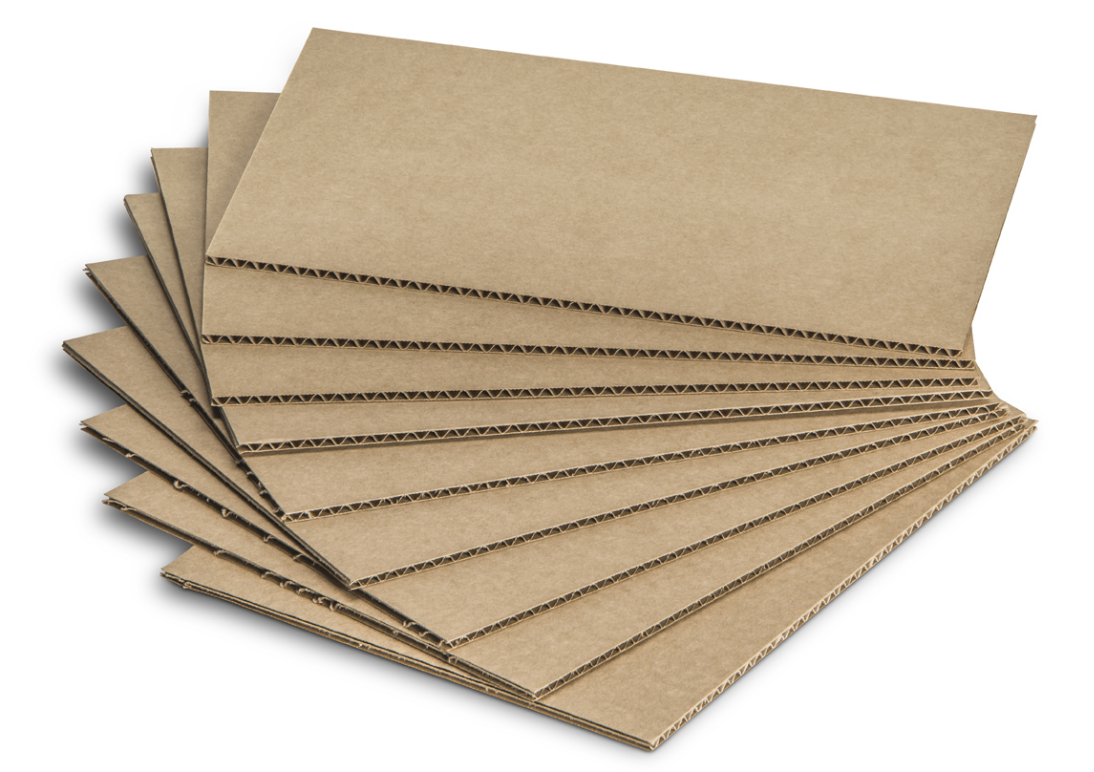
• 1pcs 25*35cm 5mm Cardboard for project Ground
• 8pcs popsicle stick (15cm)
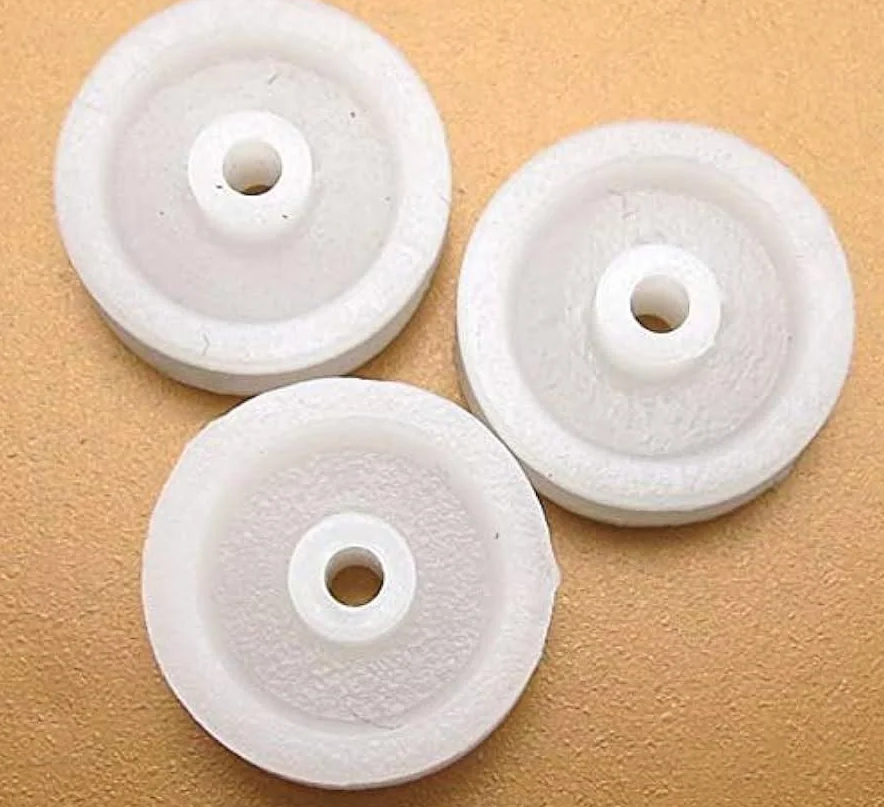
• 2pcs Plastic Pulley Wheel (Recycled from old CD/DVD burner)
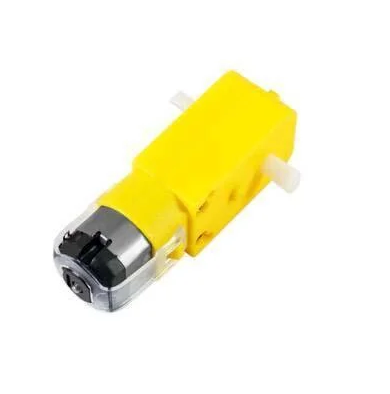
• 1pcs DC BO Motor (6V)
• 7x4x3cm cardboard Block (Stacked 6pcs 4*7cm cardboard)
• Plastic Bottle Cap
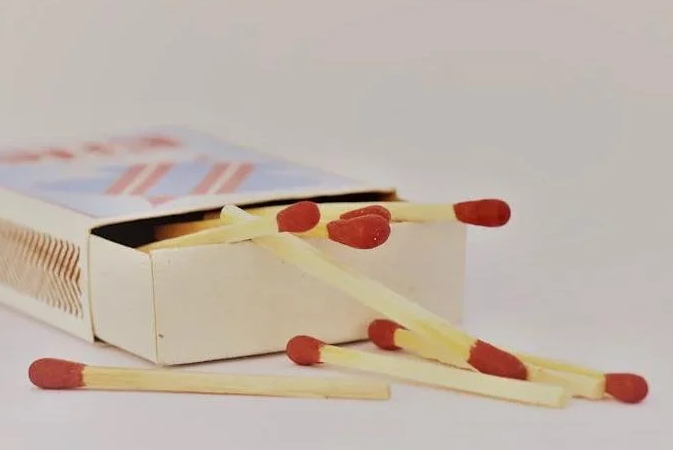
• 4pcs Match
• 1pcs Battery Holder
• 1pcs DPDT On-Off-On Slide Switch
• Passengers (Optional)
• Nylon yarn
• 1pcs thin nail
Outils
• soldering iron
• Cutter
• Glue
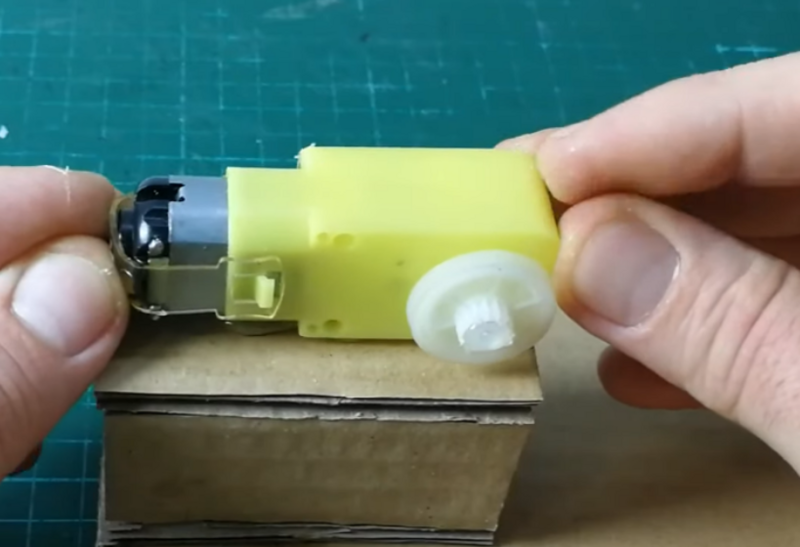
Étape 1 - Mounting Pulley Wheel on Motor Shaft
You can check all steps on video briefly or follow below steps.
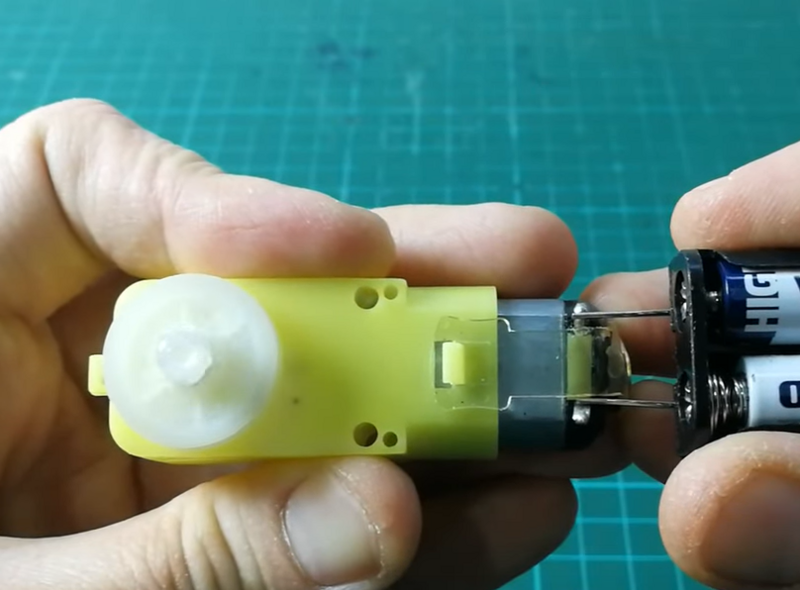
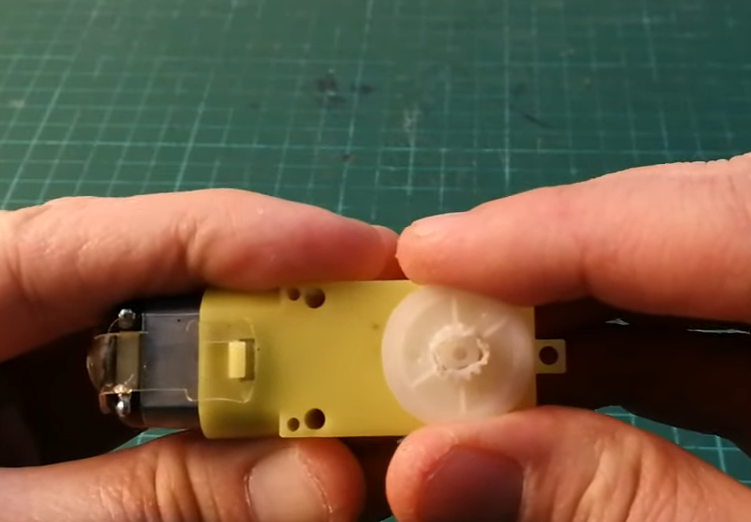
• Mount plastic pulley wheel onto DC motor shaft and glue on it.
Étape 2 - Glue Popsicle Stick for Pulley Holder
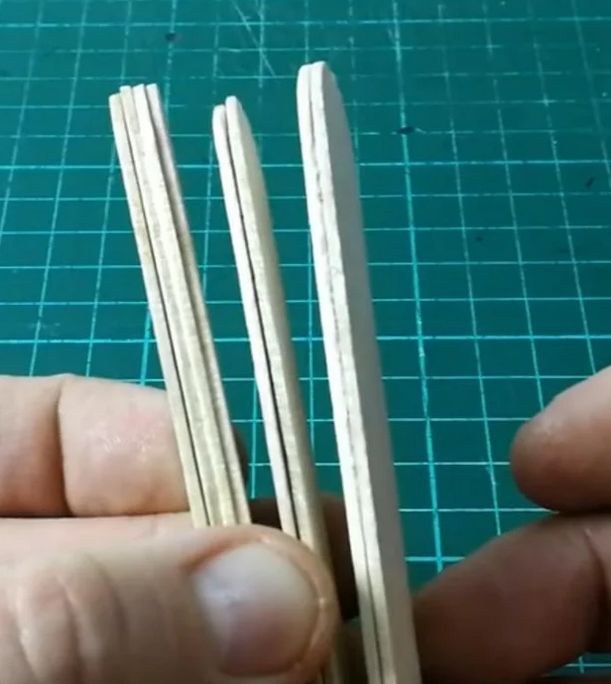
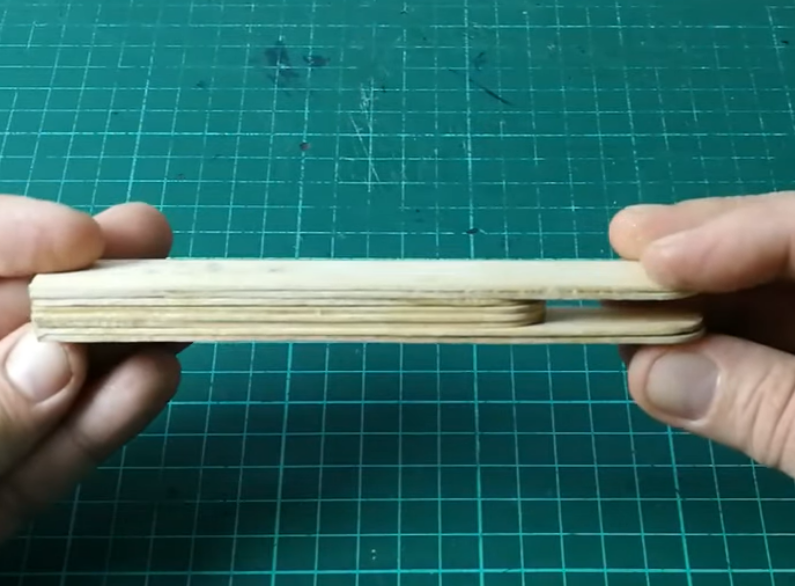
Glue the popsicle sticks on top of each other.
1 set of 4 sticks will be glued on top of each other.
2 sets of 2 sticks will be glued on top of each other.
Étape 3 - Plastic Pulley Wheel Holder Assembly
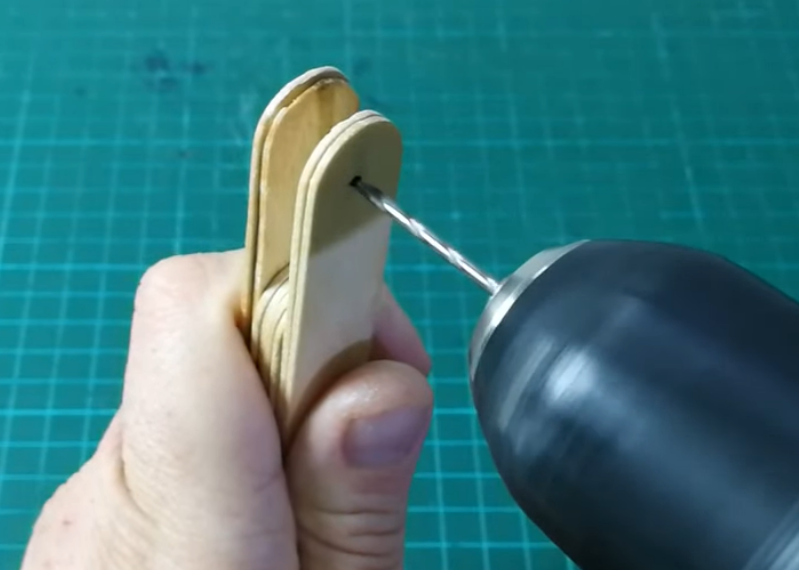
Glue the popsicle sticks together in the form of a slingshot, keeping the group of 4 in the middle.
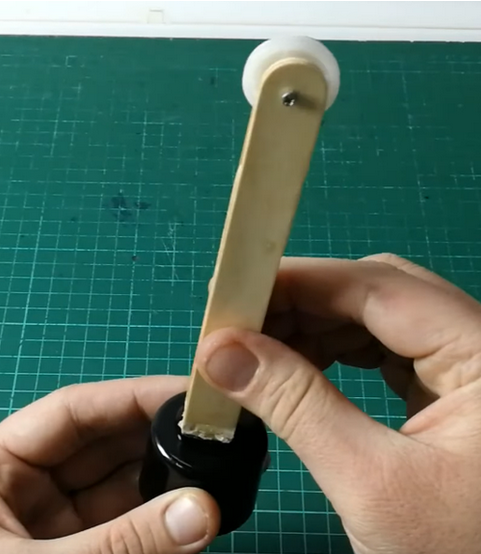
Étape 5 - Mount Plastic Pulley on Slingshot
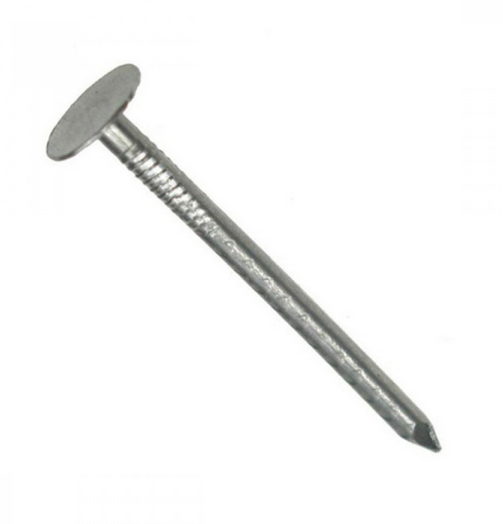
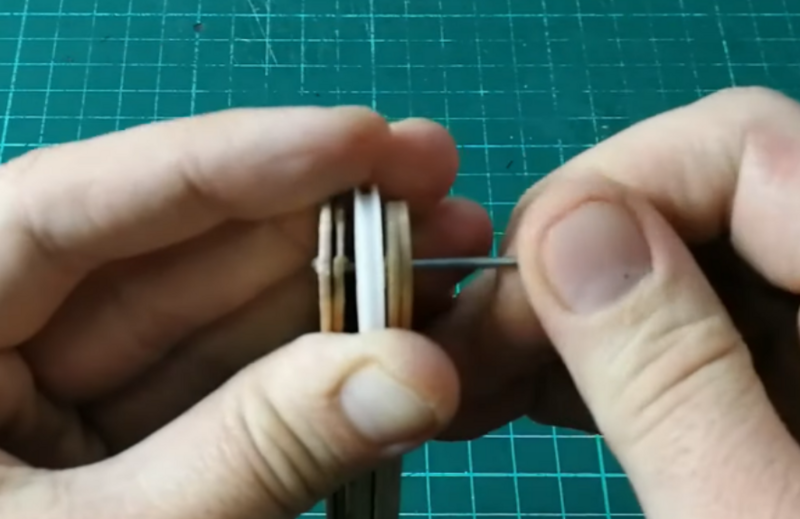
Mount plastic pulley wheel with a nail between slingshot arms.
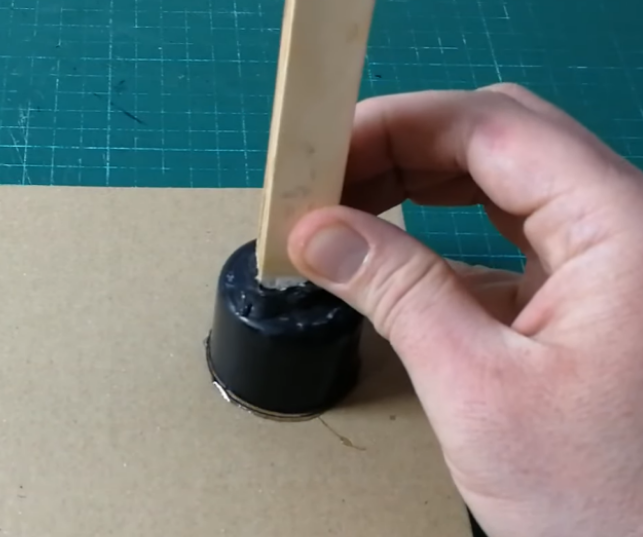
Étape 8 - Pulley Holder Mount
Glue pulley holder slingshot onto plastic bottle cap to increase height.
Glue pulley holder slingshot onto right side of base.
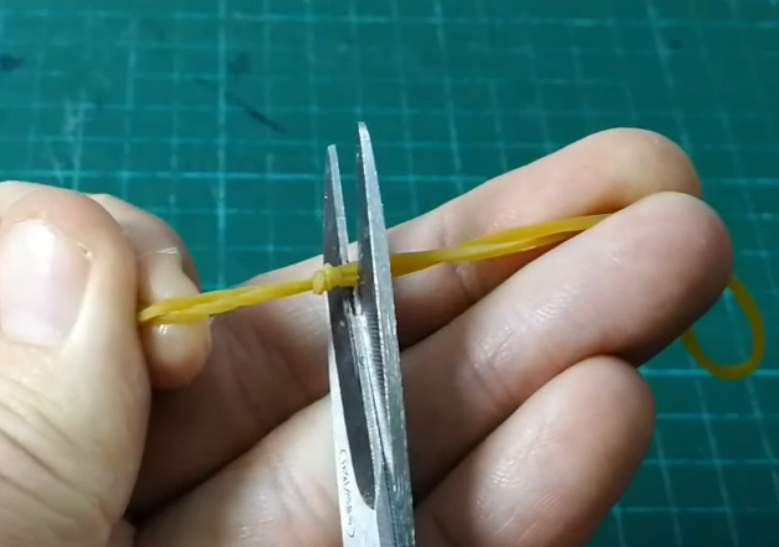
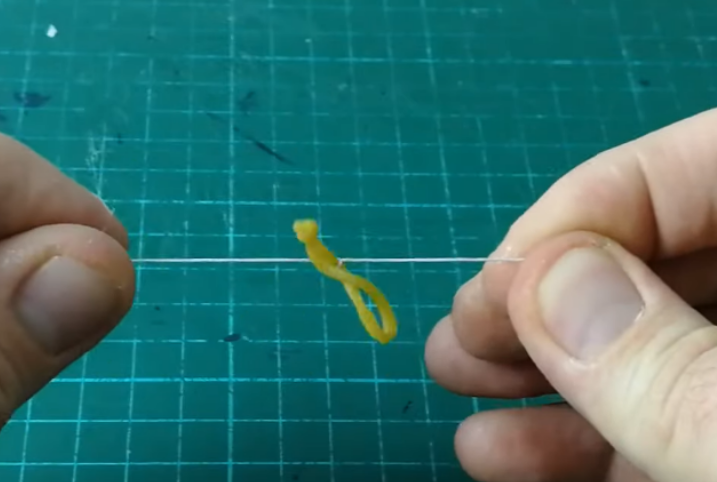
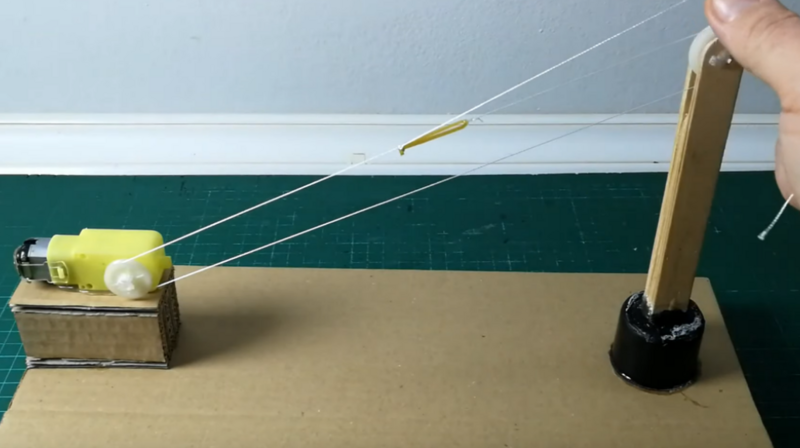
Étape 11 - Attach the Cable
Tie the yarn between the pulleys by adjusting the tension with the rubber band.
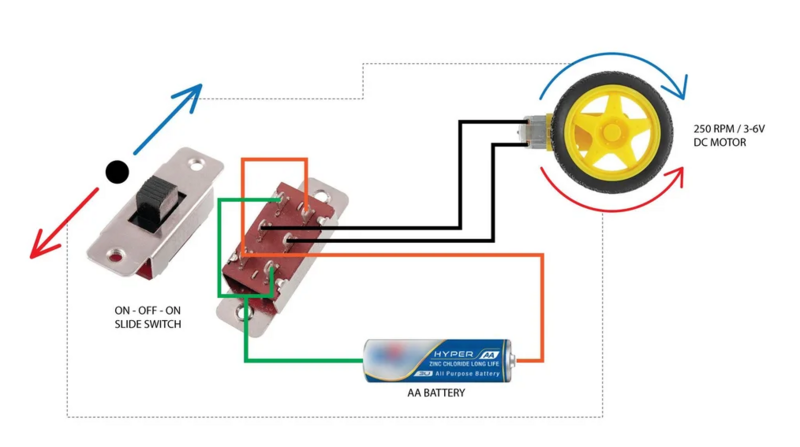
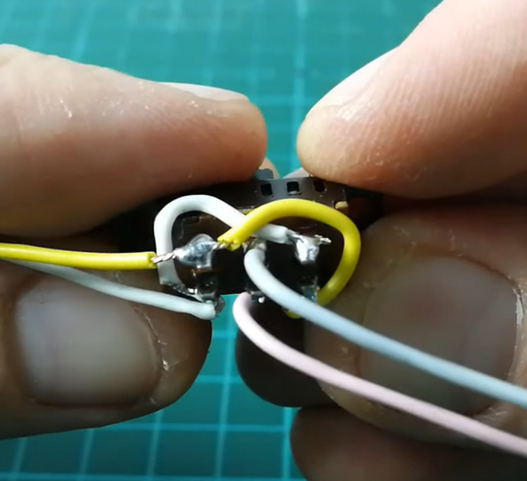
Étape 12 - Soldering System
Solder the wires onto the 6 pin slide switch for forward and reverse movement.
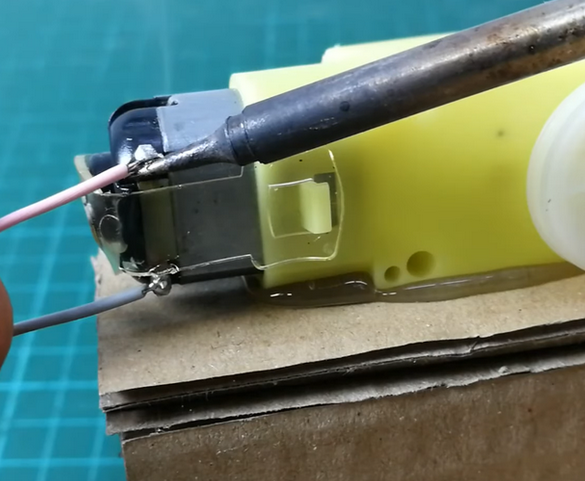
Étape 13 - Motor Soldering
Solder the cables coming from the middle pins of the slide switch to the motor pins.
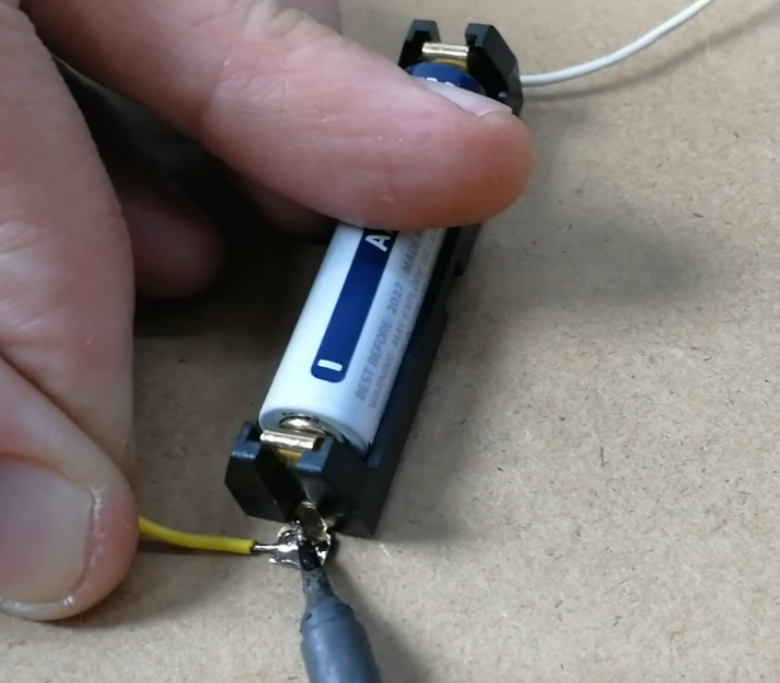
Étape 14 - Battery Attachment
Solder the cables from the other ends to the pins on the battery holder.
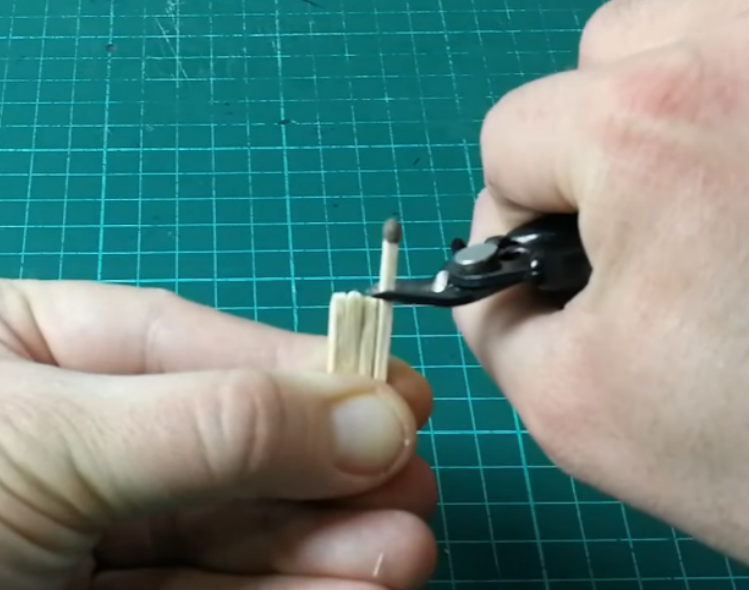
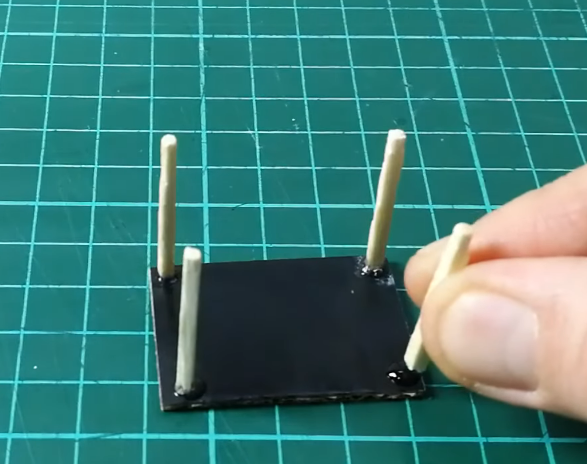
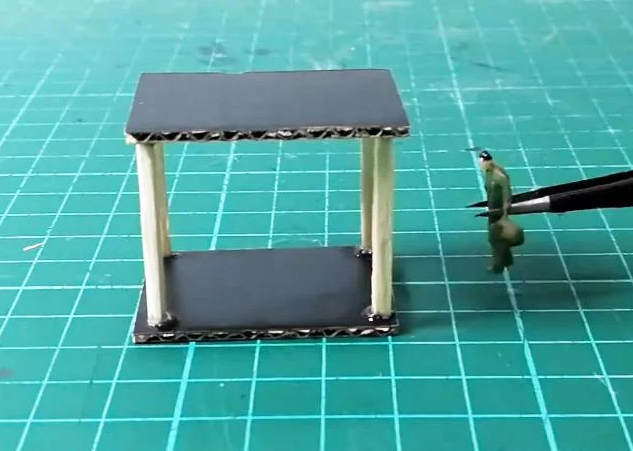
Étape 15 - Cable Car Cabin Assembly
Cut away 4pcs Match heads.
Prepare 2pcs 4x3cm 3mm cardboard and glue Matches on the corners.
Don't forget the Passengers
Étape 19 - Play it
Start the cable car by moving the switch back and forth, have fun 👏👏👏👏
Draft


 Français
 English
 Deutsch
 Español
 Italiano
 Português